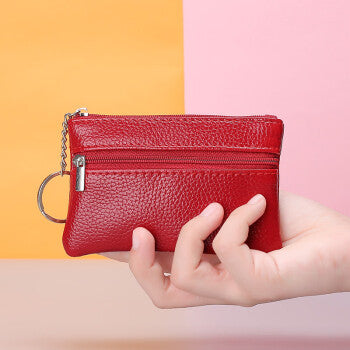
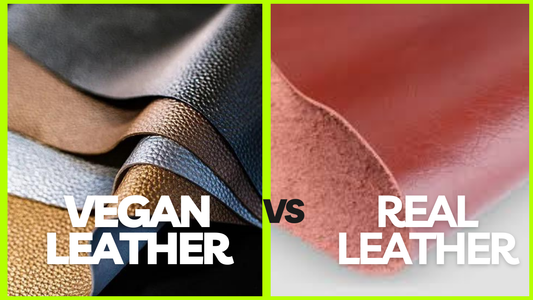
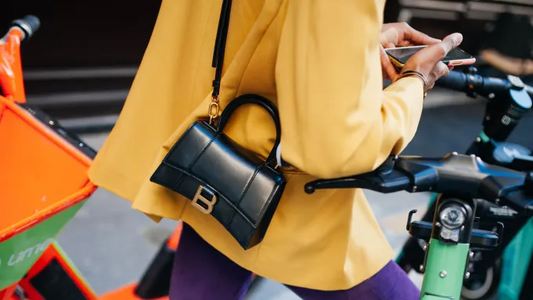
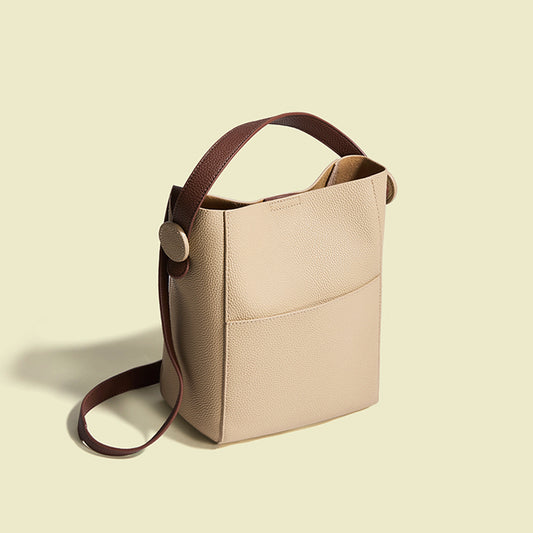
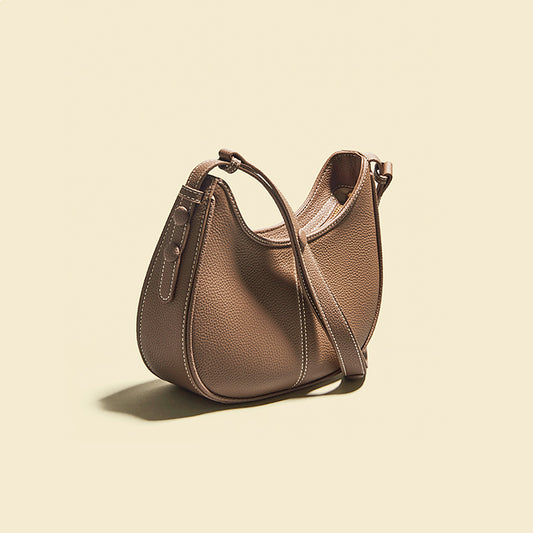
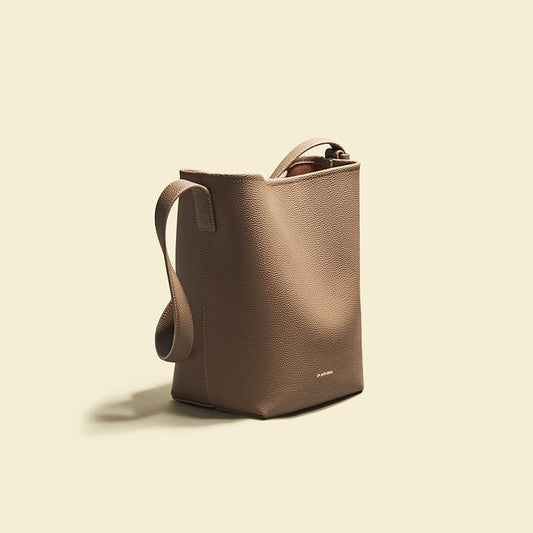
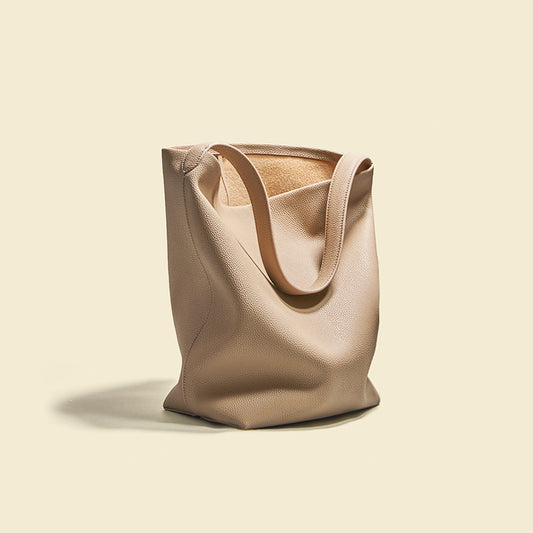
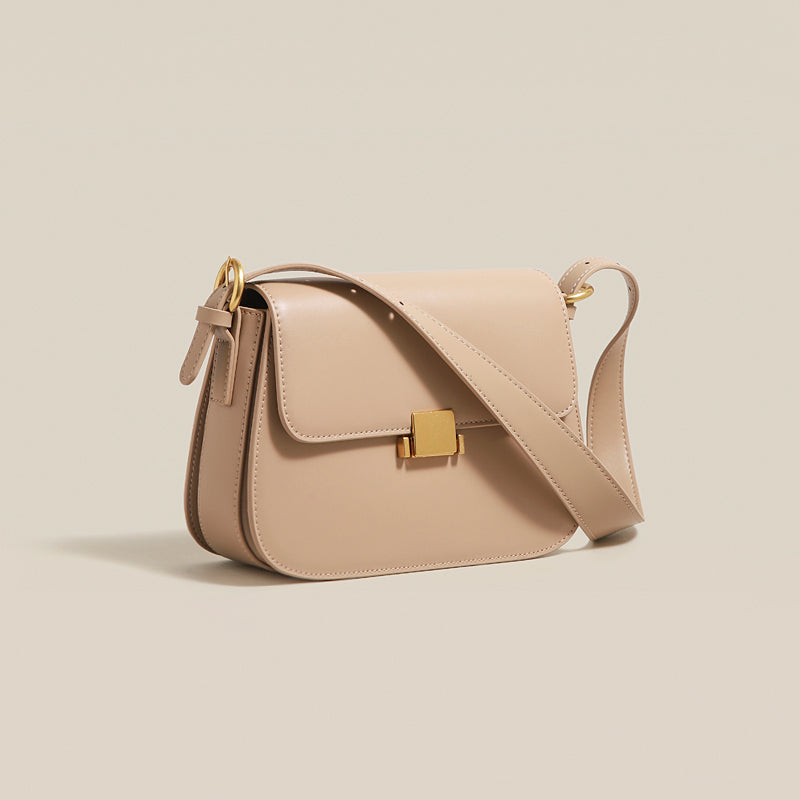
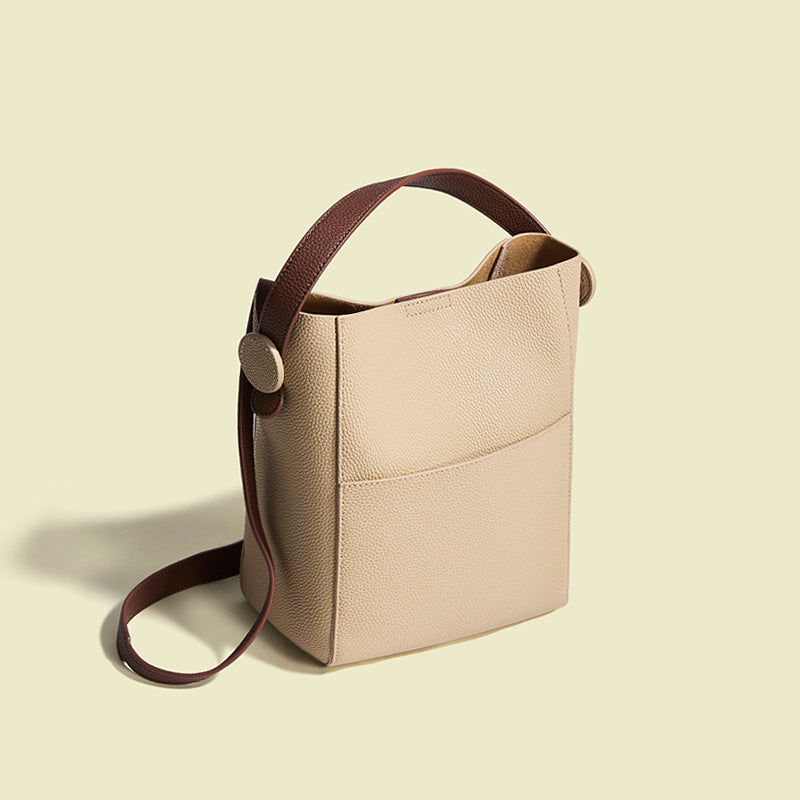
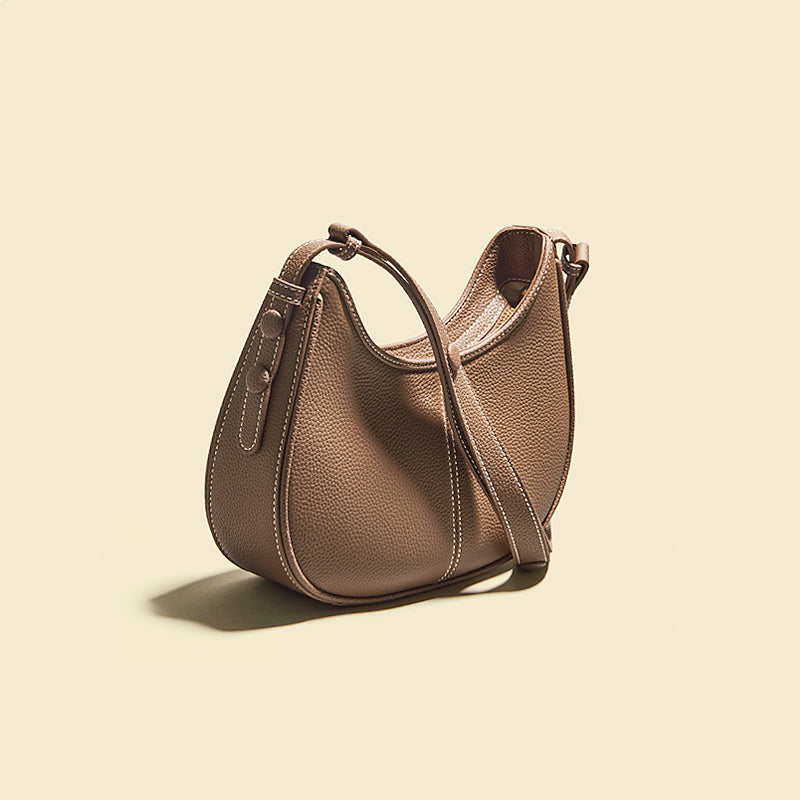
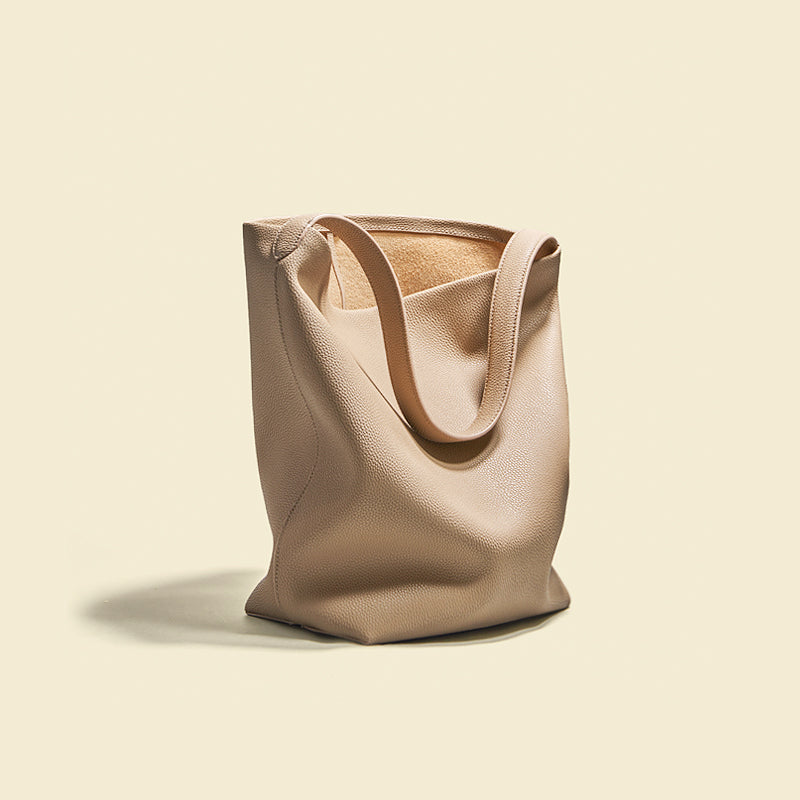
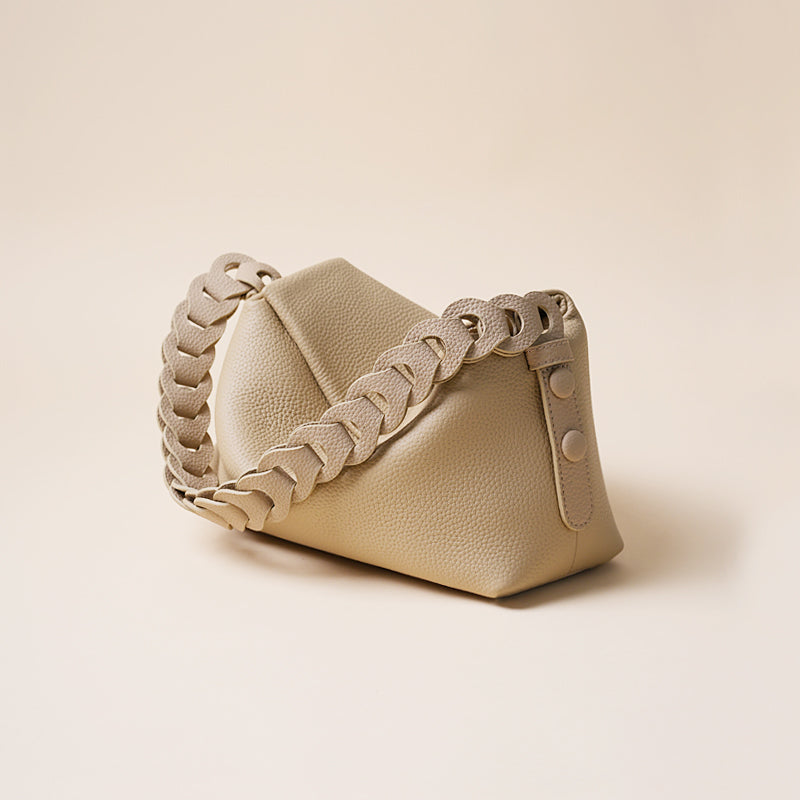
The opulent material leather can give every bag or accessory a hint of refinement.
If you want your leather bag to bring out your unique style, you need to make a small change to your bag. Printing your exclusive pattern on a leather bag is a great option.
You may learn how to print on genuine leather with an inkjet printer from this article. Let's get going!
You must use a certain kind of ink when printing on genuine leather. Use ink specifically made for genuine leather as most inks won't adhere to this substance. There are a few different kinds of real leather, so be sure you're using the appropriate ink by reading the manufacturer's instructions.
What You Will Need:
real Leather Sheets for printing
Paper towels to iron
using a laser or inkjet printer to print pressing material.
Instructions on How to Print on Genuine Leather in Detail
Step 1: Pick a design
Selecting the design to be printed on your real leather is the first step. A vast variety of patterns are available online, or you may make your own. Use a vector graphic tool like Adobe Illustrator while making your design to ensure that it will be of good quality and simple to print.
Print the design in step two.
It's time to print the design once you've made your decision. Since laser printers produce better-looking prints than inkjet printers, choose one instead. To get high-quality results when utilizing a self-created design, make sure the printed has at least 300 dots per inch (DPI).
If you're using a pre-made design, print it out on plain paper first, then use a pencil to trace the design's shape onto the genuine leather. Use a sharpie to add the design's features when the outline is finished.
When tracing the design, take care not to press too firmly as this might cause the real leather to rip. When tracing, if you make a mistake, wipe it away with a moist cloth and begin again.
Step 3: Remove the Design
Once the design is finished, cutting it out is necessary. With a pair of razor-sharp scissors, gently cut all around the design's perimeter. Cut off all the features from a pre-made design to give it a polished appearance.
When utilizing your designs, make sure to provide an additional 1/4 inch of space around the design. This will give space for the genuine leather to be attached to the printer tray.
Prepare the genuine leather in Step 4
Now that you have all of your ingredients in one location, it's time to prepare the genuine leather. Cleaning off any dust or debris from the surface of the material is the first step. A lint roller or a soft-bristled brush can be used for this.
The next step is to cover the material with glue. For this phase, a spray adhesive is advised. When using the glue, be sure to adhere to the manufacturer's directions precisely.
The moment has come to print your design after the glue has been placed. After positioning your design where you want it, push down on it using a pressing cloth. If you want the design to transfer to genuine leather, you'll need to use a lot of pressure while pushing down. Before going on to the following step, let the glue completely dry.
The design is ironed in Step 5.
Time to heat that iron now! Place the iron over the design after spreading out your real leather item on a level surface. To prevent the leather from becoming too hot, place a thick cloth or paper towel between the iron and the leather. Hold the downward pressure for around 12 seconds. You'll see that the pattern is blending into the leather. Before letting the ink cool, be sure all of it has been applied. You're done after it's cooled!
Step 6: Concluding
Now that your design has been printed on real leather, it's time to complete the task. First, cut out the design using a craft knife. Don't cut yourself, please!
The real leather should then be attached to your item using a hot iron. Genuine leather should be covered with a piece of cloth and ironed on high for around 30 seconds. You may need to do this a few times to make sure it is properly linked.
That's all, then! With your own two hands, you have just produced a stunning work of art. These guidelines will demonstrate how to print on genuine leather.
Advice and Caution:
- Before printing on the entire surface, test the ink on a tiny piece of real leather. By doing this, you can be sure that when the ink is placed, it won't bleed or fade.
- Genuine leather should not be printed using an inkjet printer. The ink might run or fade due to the printer's heat and dampness.
- Instead, print on genuine leather using a laser printer. The heat from the laser printer will help the ink set, and because it doesn't require any moisture, there is less likely that the ink will run or fade.
- If your laser printer has a "leather" setting, be sure to choose it. The print will be more crisp and clear as a result of this.
- Try printing the picture backward if your laser printer does not have a "leather" mode. As a result, the print will be less noticeable and less likely to fade over time.
- Pick a picture with lots of contrast and clear lines. Images that are faded or fuzzy might not seem as nice when printed on genuine leather.
Conclusion
Printing on real leather is a fantastic method to give your designs a little additional flare. You may create practically any appearance you desire with the real leather's numerous hues and textures. The best part is that printing on real leather is simple and reasonably priced. We trust you now know how to print on real leather. Why not attempt it then?

