Introduction to Handbag Sketching
Are you ready to embark on an exciting journey into the world of handbag sketching? Whether you're a complete beginner or looking to level up your skills, this comprehensive guide is here to help you unleash your creativity and design fabulous handbags like a pro. But before you start sketching, it's important to have a clear vision of what you want to create. This is where a design brief comes in.
A design brief is a document that outlines the objectives, scope, and constraints of a design project. Imagine the sense of accomplishment and pride you'll feel when you see your ideas come to life on paper, beautifully sketched and ready to be transformed into real handbags.
Let's dive in and explore the fascinating art of handbag sketching together!
The Importance of Handbag Sketching
Your primary tool as a handbag designer to bring your concepts to life is drawing. It's the first step in the design process, allowing you to visualize your concepts and communicate them effectively to others. Imagine having a brilliant idea for a new handbag – sketching is your way of capturing that idea and transforming it into a tangible design. To give you a better understanding, here are some examples of handbag sketches: [insert handbag sketches here].
Whether you're sketching on paper or digitally, it's all about translating your vision into a visual representation that others can understand and appreciate. But sketching isn't just about putting pen to paper – it's a creative process that allows you to explore different shapes, styles, and details until you find the perfect combination that reflects your design aesthetic. The joy of creativity and the thrill of exploration are what make handbag sketching such a rewarding and inspiring journey.
Understanding Handbag Design Drawing Basics
Before you dive into sketching your first handbag, it's essential to understand the basics of design drawing. This covers ideas like perspective, forms, and proportions.
Proportions: Getting the proportions right is crucial for creating a well-balanced and visually appealing handbag design. Whether you're sketching a tote bag or a clutch, pay attention to the size and placement of each element to ensure harmony in your design.
Shapes: Handbags come in all shapes and sizes – from rectangular totes to circular crossbody bags. Please familiarize yourself with the different shapes commonly used in handbag design and experiment with combining them to create unique silhouettes.
Perspective: Adding depth and dimension to your sketches through perspective can make your designs more realistic and dynamic. Here's a step-by-step guide on how to sketch a handbag from different angles and viewpoints: [insert step-by-step guide here]. Practice sketching handbags from different angles and viewpoints to master perspective drawing techniques.
By mastering these fundamental concepts, you'll be well-equipped to sketch a wide range of handbag designs with confidence and precision.
Different Types of Handbags
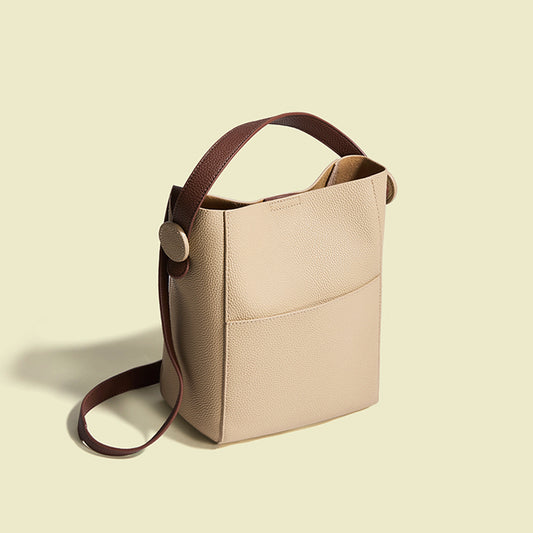
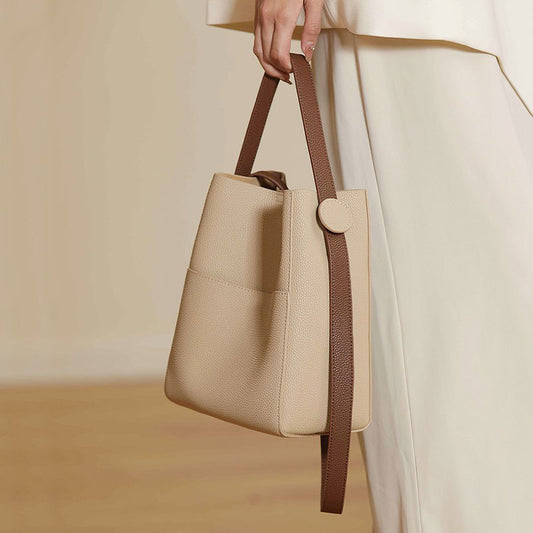
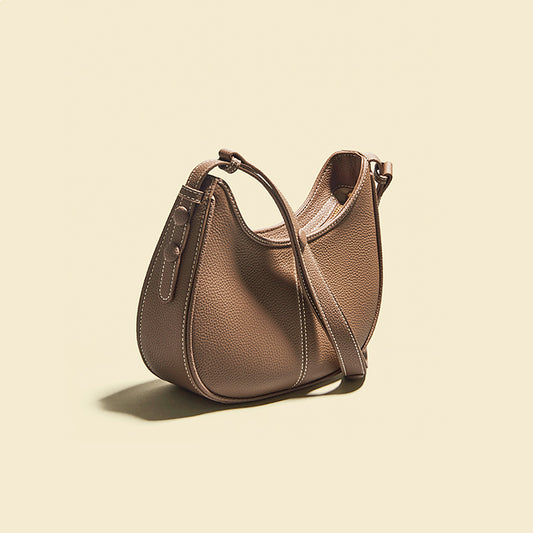
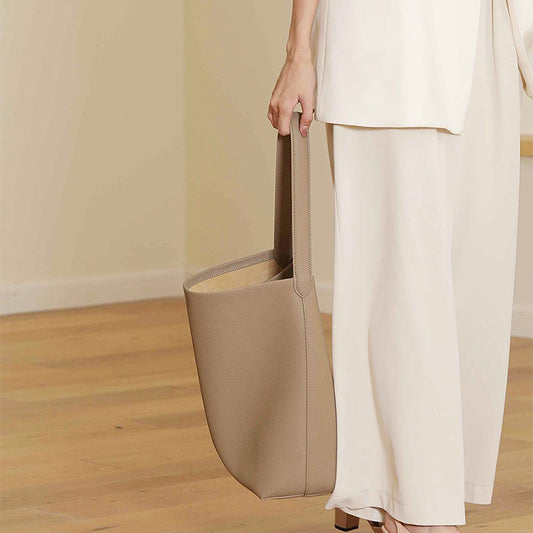
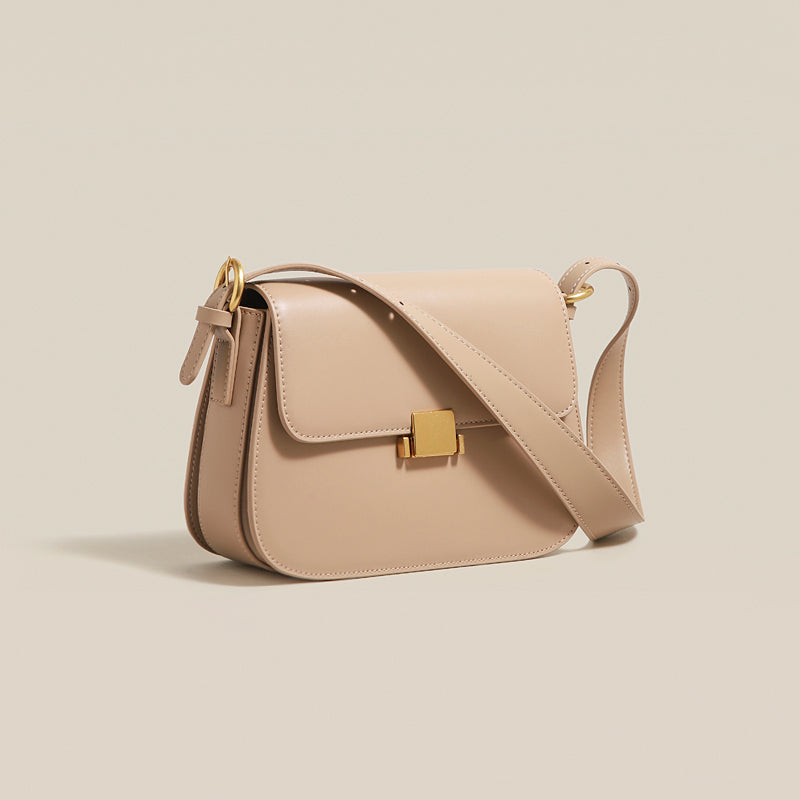
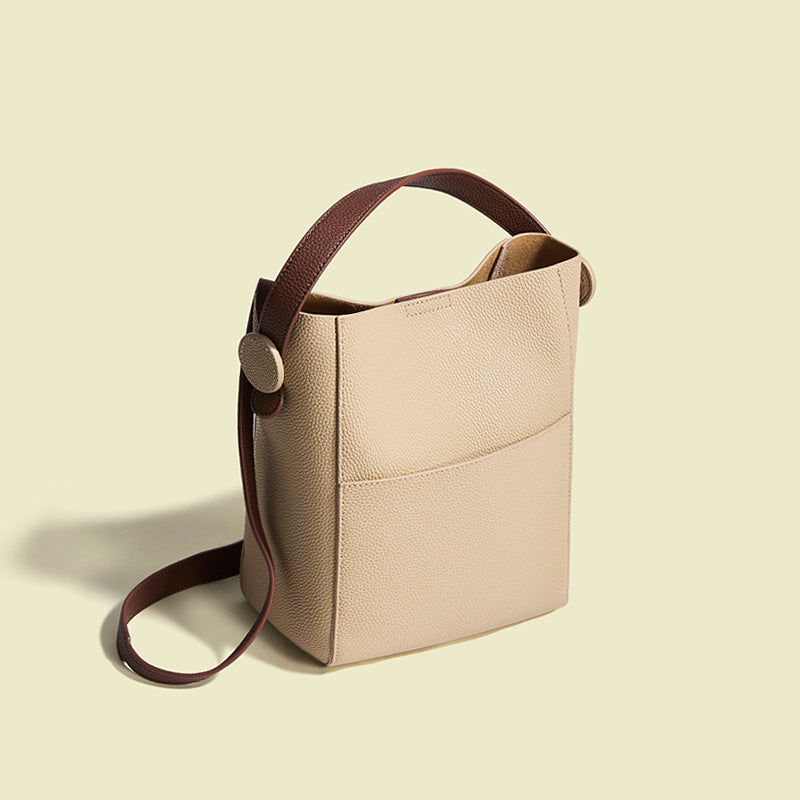
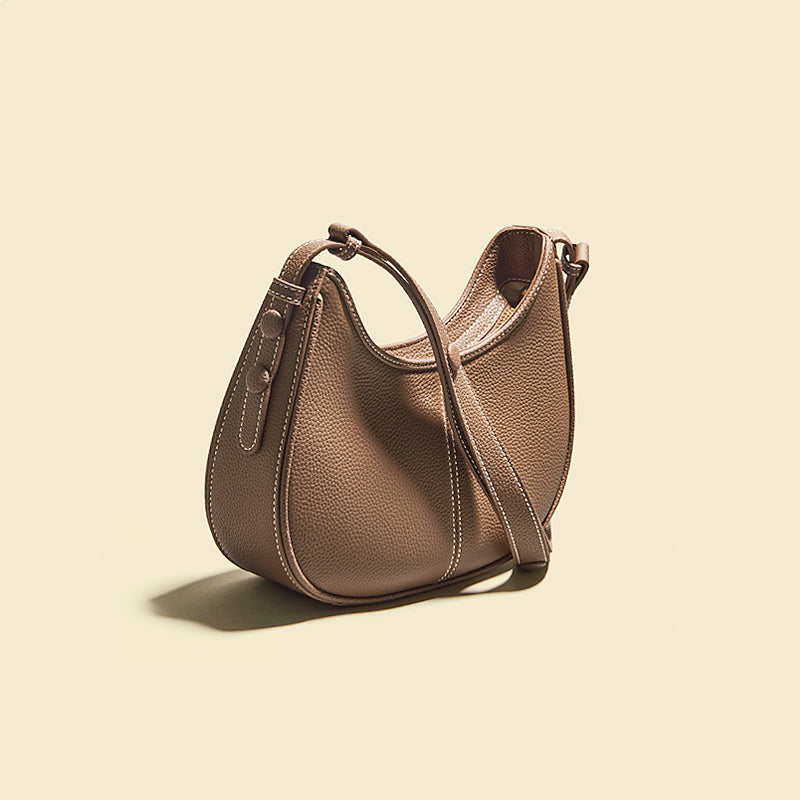
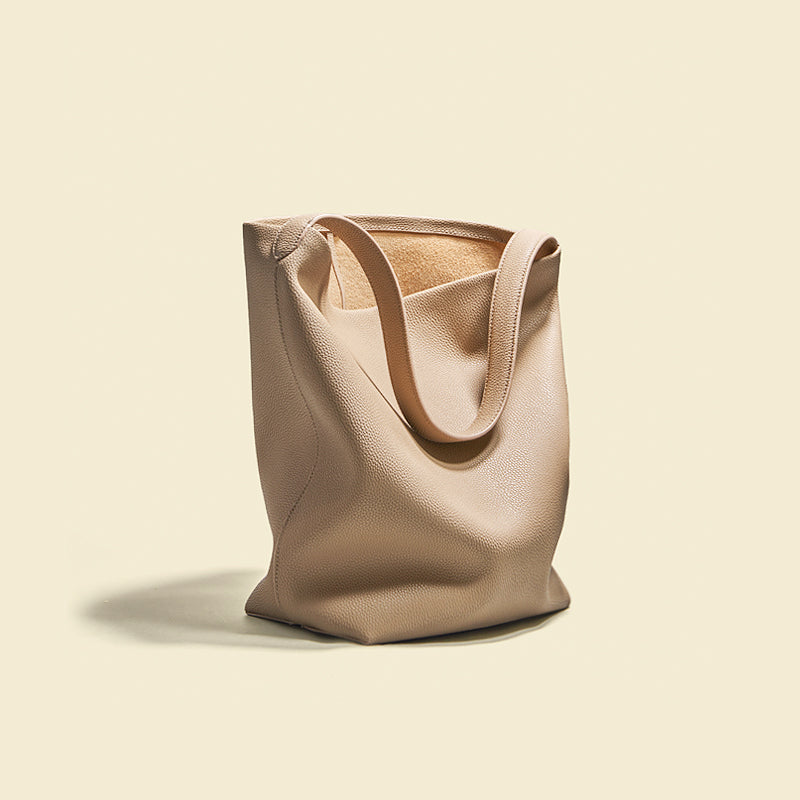
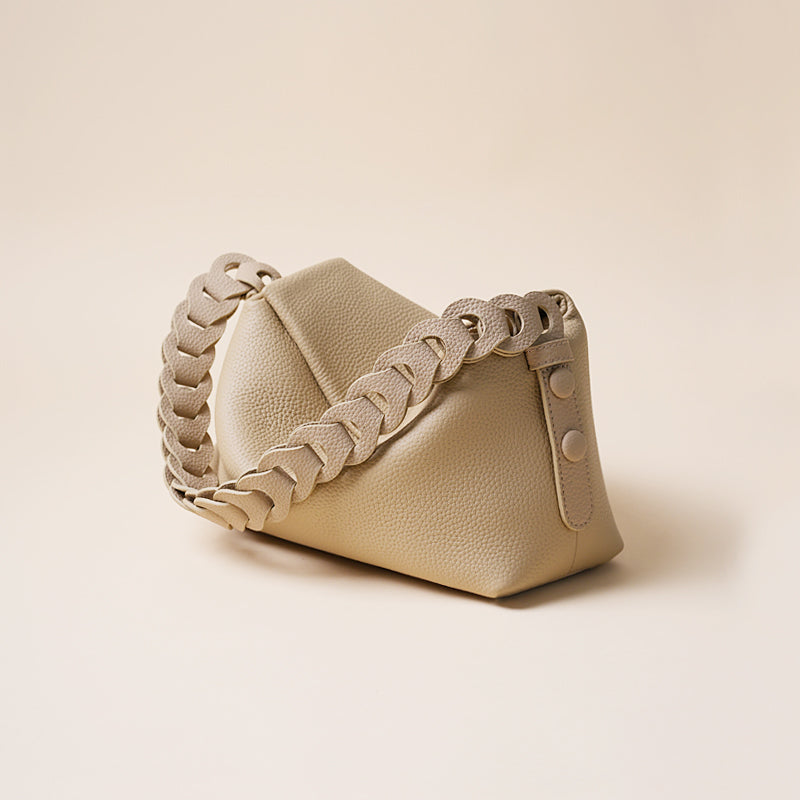
There are many different types of handbags, each with its unique qualities and traits. To give you a better idea, here are some examples of the most common types of handbags: [insert images of tote bags, shoulder bags, crossbody bags, and clutches here].
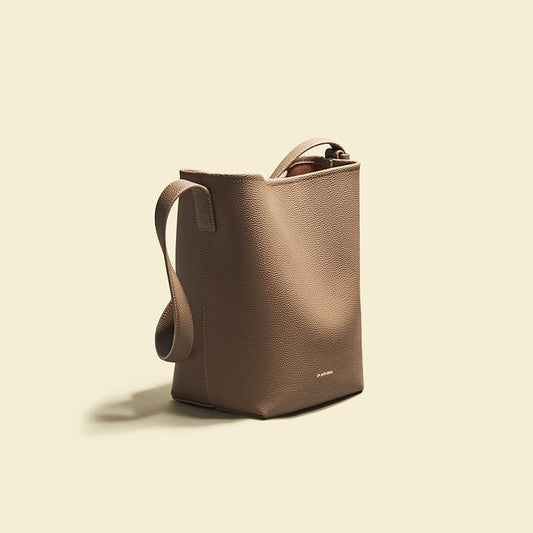
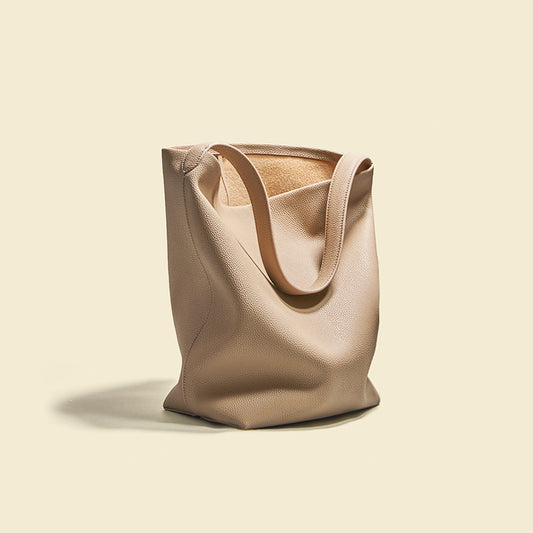
Tote Bags: Spacious and practical, tote bags are perfect for carrying everyday essentials. Their open top and sturdy handles often characterize them.
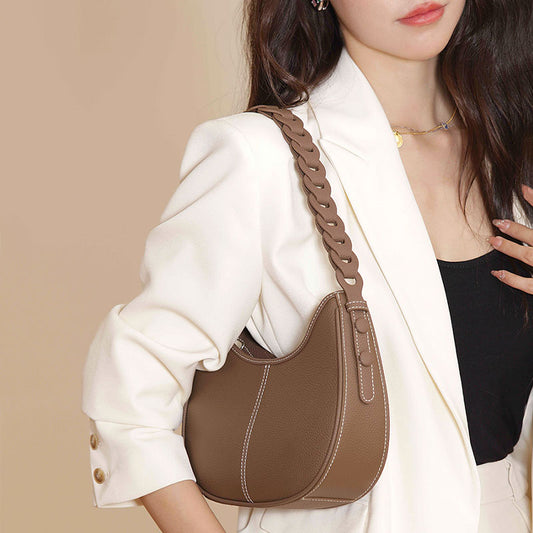
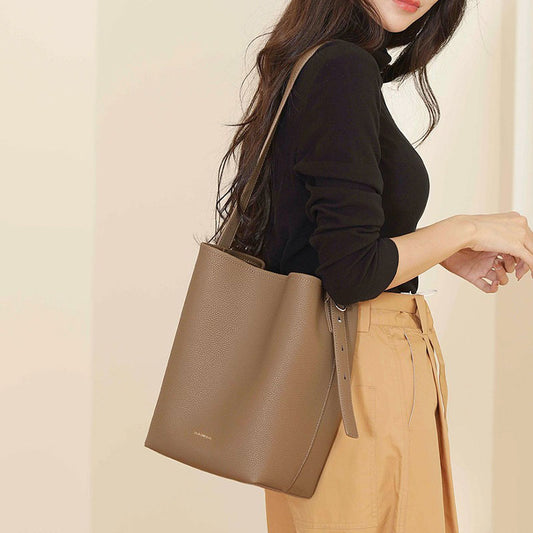
Shoulder Bags: Worn over the shoulder, shoulder bags come in various shapes and sizes, making them versatile options for both casual and formal occasions.
Crossbody Bags: Also referred to as sling bags, crossbody purses have a long strap that may be positioned diagonally over the body to provide security and ease when carrying a purse without using your hands.
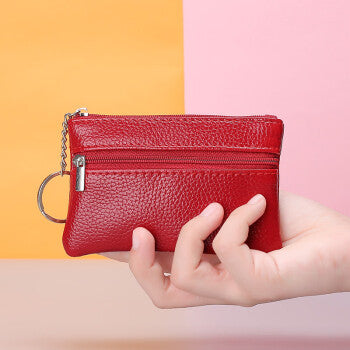
Clutches: Sleek and compact, clutches are ideal for evening events and special occasions, typically designed to be held in the hand.
As you begin sketching handbags, it's important to consider the unique features of each type and how they influence the overall design and functionality of your creations. Equally important is understanding your target audience's preferences and needs. Here's a guide on how to understand and meet the client's or target audience's expectations in handbag design: [insert guide here]. This knowledge will guide you in creating designs that are not only visually appealing but also marketable.
Techniques and Tools for Handbag Sketching
Now that you've got a solid grasp of the fundamentals of handbag sketching, it's time to dive deeper into the techniques and tools that will take your designs to the next level. Let's explore each technique and tool in detail: [insert detailed explanations of each technique and tool here]. But don't stop here. There's always more to learn! To continue your education and improve your handbag sketching skills, here are some recommended resources: [insert list of recommended books, online courses, and tutorials here].
Sketching Techniques for Beginners
Let's start with the basics. If you're new to handbag sketching, don't worry, it's not as complicated as it may seem. It's essential to master some fundamental techniques to get you started on the right foot.
Basic Shapes:
- Begin by sketching the basic outline of your handbag using simple shapes such as rectangles, circles, and ovals. This will serve as the framework for your design. Here's a step-by-step illustration to guide you: [insert step-by-step illustration here]. Outline and elements: After you've completed creating the basic design, begin including elements like pockets, handles, straps, and hardware.
- Take it step by step, focusing on one element at a time to ensure clarity and accuracy in your sketch.
Like any other skill, sketching handbags requires practice. However, you may encounter some challenges along the way. Here are some common challenges in handbag sketching and how to overcome them: [insert troubleshooting section here]. As you practice more, you'll get more confident in your abilities and these challenges will become easier to overcome.
Adding Color and Detail
Now that you've mastered the basics, it's time to add some flair to your sketches with color and detail. Here are some detailed tips to help you bring your designs to life: [insert detailed tips here].
Experiment with Different Mediums: Whether you prefer traditional methods like watercolor or markers or digital tools like Photoshop or Procreate, don't be afraid to experiment with different mediums to find what works best for you. Here's a guide on how to choose the right medium for handbag sketching: [insert guide here].
Texture and Detail: Take note of your handbag's design's texture and details. Think about the material your bag is made of: is it made of textured fabric, smooth leather, or another substance? Use shading and texture techniques to convey these details in your sketch. For example, if you're sketching a leather bag, you can use cross-hatching to create the appearance of texture.
Accents and decorations: To improve the visual attractiveness of your design, remember to include accents and decorations. Whether it's studs, buckles, or decorative stitching, these little touches can take your handbag from ordinary to extraordinary.
Tools of the Trade
Having the appropriate equipment is necessary for drawing handbags successfully. Here are some must-have items for your sketching toolkit:
Quality Paper: Choose a smooth, heavyweight paper that can withstand multiple layers of pencil or ink without smudging or tearing.
Pencils: To create varied levels of shading and detail in your sketches, get a set of premium drawing pencils with differing degrees of hardness (e.g., HB, 2B, 4B).
Erasers: A good eraser is your best friend when it comes to correcting mistakes or making changes to your sketches. Opt for a soft kneaded eraser for gentle, precise erasing and a plastic eraser for more stubborn marks.
Rulers and Templates: Use rulers and templates to ensure straight lines and consistent shapes in your sketches, especially when drawing geometric elements like straps or hardware.
Coloring Materials: If you're adding color to your sketches, invest in a set of high-quality markers, watercolor paints, or colored pencils that blend smoothly and provide vibrant, long-lasting color.
Practical Exercises and Projects
In this part of our guide on how to sketch a handbag, we'll dive into some hands-on exercises and projects to help you further develop your skills and creativity.
Whether you're a beginner or an intermediate designer, these practical activities will challenge you to push your boundaries and take your handbag sketches to the next level. For beginners, try sketching a basic tote bag from different angles or adding details like pockets and zippers. For intermediate designers, challenge yourself with more complex designs like a structured shoulder bag or a crossbody bag with intricate strap details.
Sketching Exercises for Beginners
If you're starting with handbag sketching, these exercises are perfect for building your confidence and mastering the basics. It's also important to be aware of common mistakes to avoid, such as [insert common mistakes here]. By being mindful of these mistakes, you can ensure that your sketches are accurate and visually appealing.
Shape Exploration: Practice sketching different shapes commonly used in handbag design, such as rectangles, circles, and ovals. Experiment with combining these shapes to create unique handbag silhouettes.
Proportion Practice: Focus on getting the proportions right in your sketches. Start by sketching simple handbag designs and gradually add more complex elements like handles and hardware while maintaining balanced proportions.
Detail Drawing: Pay attention to the details in your sketches. Practice adding texture, stitching, and other embellishments to your handbag designs to make them more realistic and visually appealing.
Design Projects for Intermediate Designers
Suppose you're ready to take your handbag sketching skills to the next level. In that case, these design projects will challenge you to think outside the box and experiment with new techniques and styles.
Theme-Based Collections: Create a series of handbag sketches based on a specific theme or inspiration. Whether it's a seasonal collection, a cultural theme, or a personal passion, use this project as an opportunity to explore different design concepts and push your creative boundaries.
Collaborative Projects: Partner with other designers or artists to collaborate on a handbag design project. This could involve brainstorming ideas, sharing sketches, and combining your skills to create a cohesive collection of handbag designs.
Portfolio Development: Create a collection of your finest handbag designs and sketches in a portfolio. Use a range of topics, styles, and approaches to show off your diversity as a designer. Your portfolio will be an invaluable resource for exhibiting your abilities to prospective employers, partners, or clients.
Community Engagement and Feedback
Remember to seek feedback and support from the handbag design community as you work on your exercises and projects. Join online forums, social media groups, or local design meetups to connect with other designers, share your work, and receive constructive criticism and encouragement.
Conclusion:
In conclusion, we've covered a comprehensive guide on how to sketch a handbag, from mastering the basics of handbag design drawing to bringing your designs to life with fashion illustration techniques.
As you continue on your journey in handbag sketching, we encourage you to keep practicing and exploring your creativity. Don't let mistakes or setbacks discourage you from sketching; it takes time and effort to become competent. Accept the process, try out novel concepts, and never stop developing as a designer.


